
Always check a peptide COA with endotoxin and sterility testing.
Batch-specific peptide COA should’t make you comfortable. There are issues. A peptide source can cherry pick and publish clean results, but we can’t be sure we recieve the same vial
A peptide Certificate of Analysis (COA) earns trust only when you confirm who issued it and connect it to the lot being checked.
A purity figure alone can’t do that. Here’s how to check a peptide COA, step by step.
1. Find the original report at the laboratory
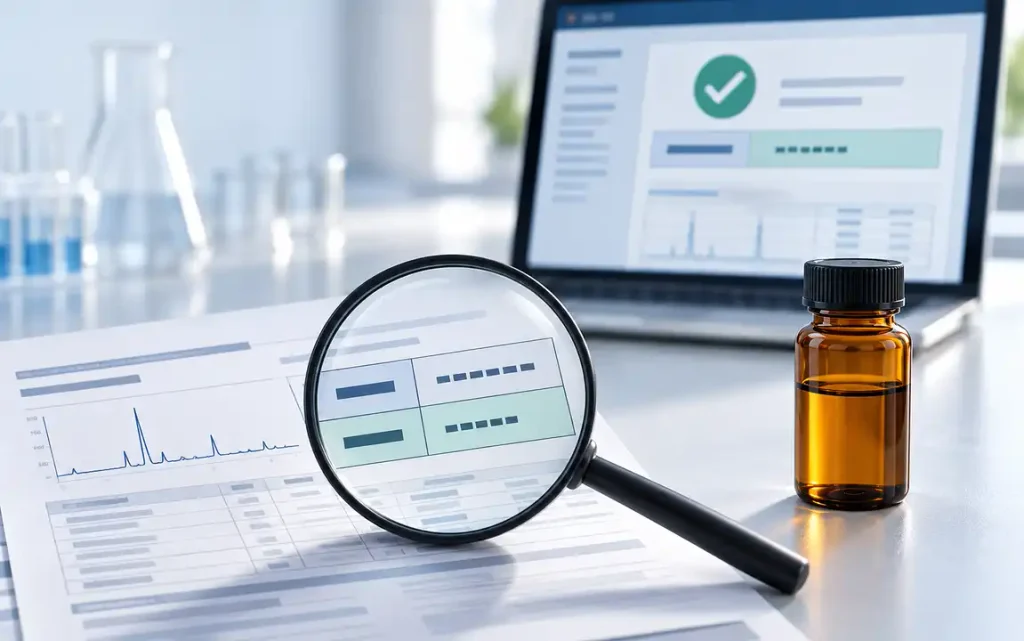
Start with the report number, task ID, QR code, or verification key printed on the COA. Type the laboratory’s address into your browser yourself, then use its report lookup. Don’t rely on a PDF hosted only on the seller’s website.
For example, Janoshik has a public verification page where you can enter report identifiers and open the lab’s record. Verify a result through Janoshik.
A vendor-hosted PDF can be edited or replaced. That doesn’t prove the seller changed it. It means the PDF alone doesn’t prove the laboratory issued those exact results. If the lab offers no lookup page, contact it using details you find independently and ask whether it issued the report number.
2. Compare the results, not just the purity headline
Put the vendor’s PDF beside the laboratory’s record. Compare the peptide name, reported purity, measured content, identity result, sample description, test date, report number, and client or submitter field, if shown.
Check the numbers digit for digit. A rounded number in marketing copy may be harmless, but a different result on the seller’s PDF and the lab’s record needs an explanation from the lab. Save the original lab page or report with the date you checked it.
If the records disagree, don’t guess which one is current. Ask the laboratory to confirm the valid report. Until then, treat the result as unverified.
3. Match the report to the product and lot
A real report can still be irrelevant to your vial. Check that the compound, salt form, strength or sample description, and lot or batch number match the product being represented.
Compare the lot number printed on your vial or package with the number on the report. If the report has no lot number, ask the seller how the tested sample connects to the lot being sold. A product name alone doesn’t establish a batch match.
Then check the test date. An older report may describe an earlier batch. It can’t verify a newer lot just because the product name stayed the same.
4. Ask how the sample was selected
A laboratory tests the material submitted to it. The report doesn’t automatically prove that every vial in a batch, or the vial you received, is identical to that sample.
Ask who selected and sent the sample. Was it randomly drawn from finished inventory, or chosen by the seller? Was it taken from a sealed vial? Is there a documented link between the tested sample and the batch offered for sale?
If the seller picked the sample, selection bias is possible. A clean result from one hand-picked vial can’t establish the contents of every vial. A report is stronger when sampling is documented and the lot connection is clear. It still doesn’t test the specific vial you have unless that vial itself was tested.
5. Know what each test can tell you
HPLC purity estimates the proportion of detected material represented by the target peak under that method. It doesn’t, by itself, tell you the total amount of peptide in the vial.
Identity testing, often by mass spectrometry, checks whether the measured mass is consistent with the claimed compound. Content or net-peptide testing addresses how much peptide is present. Purity and content answer different questions, so look for separate methods and results. Don’t let “99% purity” stand in for both.
Check what the report doesn’t test, too. HPLC purity alone doesn’t establish sterility, endotoxin levels, residual solvents, or safety for human use. Those require relevant tests, and a COA can only support the claims it actually reports. For a side-by-side comparison, see our guide to the best peptide vendors, compared by COAs and endotoxin evidence.
6. Inspect the details behind the number
Look for the method and units, then check the sample description, test date, and report identifier. Read the actual result pages, not just a certificate graphic.
A polished logo or a QR code isn’t proof. The code should lead to the laboratory’s official domain, and the result there should match the document. If the report shows only a summary, ask for the complete report or ask the lab what the listed method measured.
7. Treat gaps as gaps
No lookup or lot match means you lack verification. A mismatched result or unexplained sample source does too. That doesn’t automatically prove fraud. It means the COA can’t support the claim being made.
A COA is evidence about a tested sample. It isn’t a guarantee about every vial, and it doesn’t prove that a research-use product is approved or safe for people. The Mississippi Board of Medical Licensure states that research-grade peptides are not FDA-approved and have not been determined safe or effective for human use. Board statement on research-grade peptides.
Verify the record at the lab. Match it to the lot. Know what was tested. If one link is missing, the headline purity number isn’t enough.